Installing Sheathing on Exterior Walls
Installing sheathing on exterior walls is a crucial step in building a strong and weather-resistant house. It’s more than just slapping boards on; it’s about creating a solid foundation for your siding and protecting your home’s interior from the elements. We’ll cover everything from choosing the right sheathing material to mastering the proper installation techniques, ensuring your project is both structurally sound and watertight. This guide will walk you through the process step-by-step, helping you avoid common pitfalls and achieve professional-looking results.
This guide will cover various sheathing materials, their properties, and installation methods. We’ll explore different fastening techniques, how to handle tricky areas like windows and doors, and the importance of proper moisture management. We’ll also touch upon relevant building codes to ensure your project meets safety standards. Get ready to build a robust and durable exterior wall system!
Types of Sheathing: Installing Sheathing On Exterior Walls
Source: newswire.com
Choosing the right sheathing for your exterior walls is crucial for a durable and energy-efficient building. The type of sheathing you select will impact the overall strength, weather resistance, and cost of your project. Several materials are commonly used, each with its own set of advantages and disadvantages.
OSB Sheathing
Oriented Strand Board (OSB) is a popular choice due to its relatively low cost and good strength-to-weight ratio. It’s made from wood strands bonded together with resin and wax, creating large, flat panels. OSB is generally less water-resistant than plywood, so proper sealing and weatherproofing are essential. Installation is straightforward, similar to plywood, requiring proper fastening to ensure a secure connection to the wall framing. However, OSB can be more susceptible to damage from moisture, especially during prolonged exposure to rain or snow. Always ensure the OSB is properly sealed with a weather-resistant membrane or paint.
Plywood Sheathing
Plywood sheathing offers excellent strength and stability. It’s constructed from thin layers of wood veneer glued together with the grain of adjacent layers running perpendicularly, creating a strong and dimensionally stable panel. Plywood is generally more expensive than OSB but provides superior moisture resistance, making it a suitable choice for climates with high humidity or frequent rainfall. Installation is similar to OSB, but careful handling is needed to prevent damage to the edges. Exterior-grade plywood is specifically designed for outdoor use and treated to resist rot and decay.
Fiber Cement Sheathing
Fiber cement sheathing is a non-combustible material made from a mixture of cement, cellulose fibers, and other additives. It offers exceptional fire resistance, durability, and moisture resistance, making it an ideal choice for areas prone to wildfires or harsh weather conditions. Fiber cement is significantly more expensive than OSB and plywood but requires less maintenance and has a longer lifespan. Installation requires specialized tools and techniques due to the material’s density and rigidity. It is more difficult to cut and nail than wood-based sheathing, requiring extra care during handling and installation to prevent breakage.
Comparison of Sheathing Materials
| Material | Moisture Resistance | Strength | Cost |
|---|---|---|---|
| OSB | Moderate | Good | Low |
| Plywood (Exterior Grade) | High | Excellent | Medium |
| Fiber Cement | Excellent | Excellent | High |
| ZIP System Sheathing (example of engineered sheathing) | Excellent (integrated weather barrier) | Good | Medium-High |
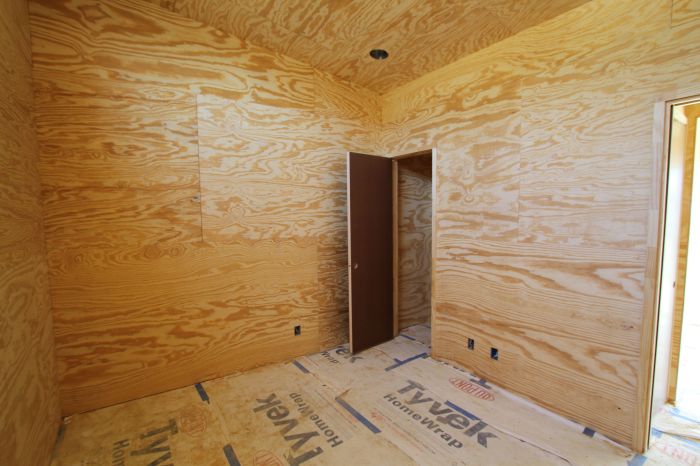
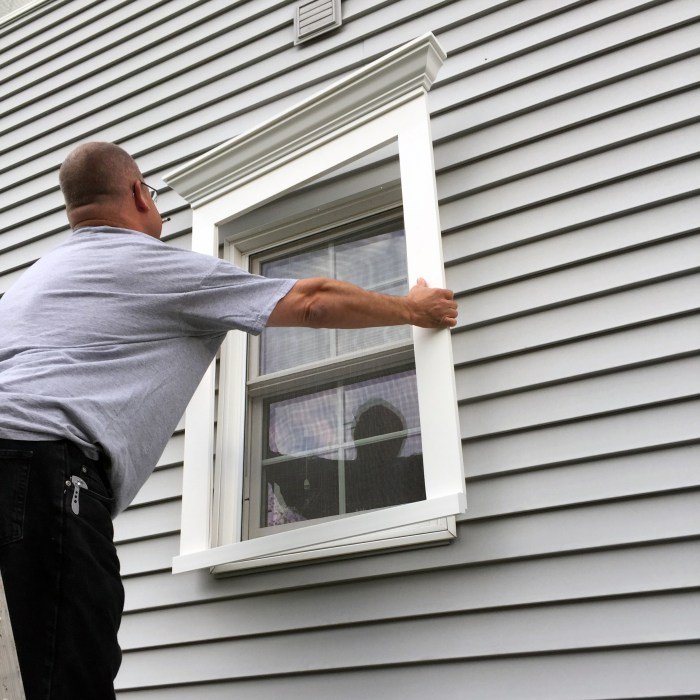
Sheathing Installation Techniques
Source: shutterstock.com
Installing exterior wall sheathing is a crucial step in building a sturdy and weather-resistant structure. Proper installation ensures the longevity and integrity of your building envelope, protecting it from the elements and providing a stable base for siding and other finishes. This section details the process, from preparation to final fastening.
Before you begin, make sure you have all the necessary tools and materials on hand. This includes your chosen sheathing (OSB, plywood, etc.), appropriate fasteners (nails or screws), a measuring tape, a circular saw or hand saw, a hammer or impact driver, a level, and safety glasses. Proper planning is key to efficient installation.
Preparing the Wall Framing
Start by inspecting the wall framing for any irregularities or damage. Ensure the studs are plumb and properly spaced. Any significant deviations need to be addressed before sheathing installation. This will ensure a flat, even surface for the sheathing to attach to, preventing issues later on. Shim out any uneven areas with wood shims to create a level surface.
Sheathing Installation Procedure
Begin installing sheathing at a corner of the wall, ensuring the first panel is plumb and level. Use a level to check for accuracy. This will serve as a reference point for all subsequent panels. Overlapping the panels correctly is critical for preventing water penetration and maintaining structural integrity.
Fastening Techniques, Installing sheathing on exterior walls
Proper fastening is essential for a strong and secure installation. The type of fastener, spacing, and penetration depth will depend on the type of sheathing used and local building codes. Always consult the manufacturer’s recommendations for specific guidelines. Generally, nails should be driven straight and fully into the studs, avoiding bending or splitting the sheathing.
- Nail Type: Use galvanized nails or screws specifically designed for exterior sheathing. Common choices include 8D or 10D common nails for plywood and OSB.
- Nail Spacing: Spacing should be consistent and meet code requirements. Typical spacing is around 6 inches apart along the edges and 8-12 inches apart in the field, depending on the sheathing thickness and local codes.
- Penetration Depth: Nails should penetrate at least 1 1/2 inches into the studs for adequate holding power. Shorter penetration will result in a weak connection.
Panel Alignment and Spacing
Maintain consistent alignment and spacing between sheathing panels throughout the installation. Leaving gaps between panels can lead to structural weaknesses and increased vulnerability to moisture intrusion. Avoid using excessively long nails which can penetrate through the sheathing and damage the next layer. Consistent spacing also contributes to a more aesthetically pleasing finished wall.
Overlapping Sheathing Panels
To prevent water penetration, sheathing panels should be overlapped appropriately. This overlap creates a staggered pattern that directs water away from the wall. Imagine a brick wall pattern: the top edge of the lower panel should overlap the bottom edge of the upper panel by at least 1 1/2 inches, and the vertical edges should overlap by at least 2 inches.
Consider this visual representation: Imagine two rectangular panels, A and B. Panel A is positioned lower than Panel B. The top edge of Panel A is visibly below the bottom edge of Panel B, creating an overlap. The right edge of Panel A should also overlap the left edge of Panel B, forming a slightly offset pattern. This overlap should be a minimum of 1.5 inches horizontally and 2 inches vertically. This prevents water from traveling directly behind the sheathing and into the wall cavity.
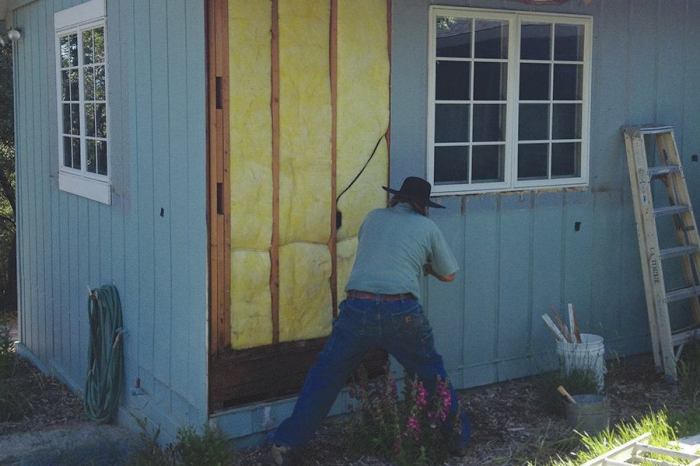
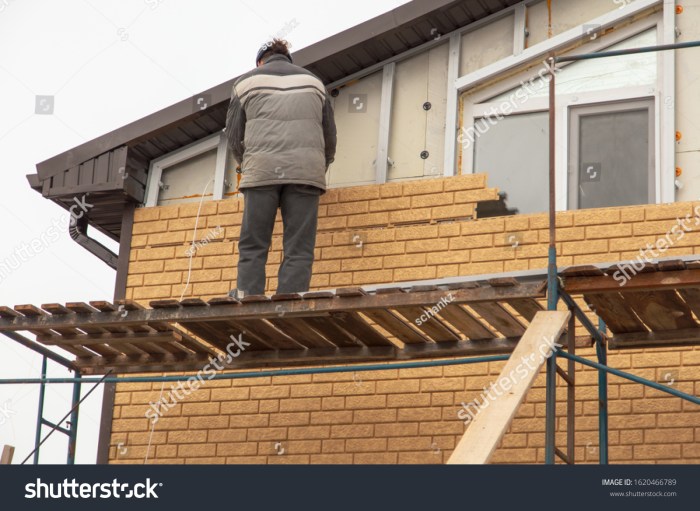
Dealing with Obstacles and Irregularities
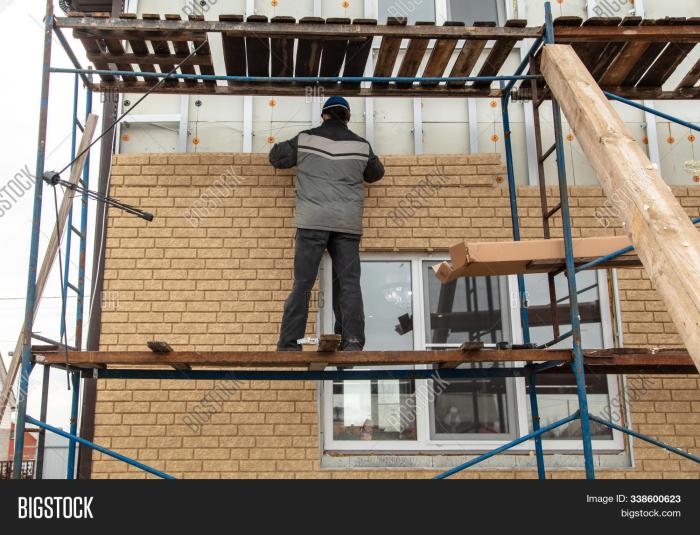
Source: bigstockphoto.com
Installing sheathing around openings and irregular areas requires careful planning and precise cuts. Failing to properly account for these areas can lead to gaps, weak points, and overall compromised building integrity. This section will cover techniques to navigate these challenges and ensure a professional finish.
Successfully sheathing around obstacles hinges on accurate measurements, proper cutting techniques, and the use of appropriate fasteners. Remember to always prioritize safety by using appropriate personal protective equipment (PPE) such as safety glasses and gloves.
Sheathing Around Openings
Sheathing around windows and doors requires precise cuts to ensure a snug fit. Begin by carefully measuring the opening, adding extra material to account for the thickness of the framing. Use a sharp utility knife or circular saw to make your cuts. For best results, pre-drill pilot holes for fasteners to prevent splitting the sheathing. Avoid driving nails too close to the edges of the sheathing. Consider using smaller sheathing pieces to better fit the intricate spaces around openings, rather than attempting large, complex cuts. It’s often helpful to create a template from cardboard before making final cuts on the sheathing. This allows for adjustments and ensures a precise fit before committing to the final cut.
Sheathing Around Complex Angles and Curves
Working with angles and curves demands a flexible approach. For angles, carefully measure each side of the angle and transfer those measurements to the sheathing. Use a combination of straight cuts and bevel cuts to create the necessary angles. For curves, it’s often best to use a jigsaw or a circular saw with a fine-tooth blade for smoother, more precise cuts. Consider making several smaller cuts to better conform to the curve than trying to achieve the curve with one single cut. This technique minimizes waste and helps maintain accuracy. Always test-fit pieces before fastening them permanently.
Common Problems and Solutions During Sheathing Installation Around Irregular Areas
Addressing common problems proactively will prevent costly rework and ensure a quality installation. Below is a list of frequently encountered challenges and their solutions:
- Problem: Sheathing doesn’t fit snugly around an opening.
Solution: Recheck measurements and make adjustments. Consider using smaller pieces of sheathing for a better fit. Use shims to fill gaps if necessary. - Problem: Sheathing splits while nailing.
Solution: Pre-drill pilot holes before nailing, especially near edges. Use appropriate-sized nails for the thickness of the sheathing. - Problem: Difficult to cut sheathing around complex curves.
Solution: Use a jigsaw or circular saw with a fine-tooth blade. Make multiple smaller cuts instead of one large cut. Consider creating a template to guide your cuts. - Problem: Gaps between sheathing panels.
Solution: Ensure proper spacing between panels is maintained. Use shims to fill small gaps. If gaps are significant, replace improperly installed panels. - Problem: Sheathing is not properly aligned with structural framing.
Solution: Check framing for plumb and square. Ensure sheathing is properly aligned before fastening. Correct any framing issues before installing sheathing.
Fasteners and Tools
Source: machosecontracting.com
Getting the right fasteners and tools is crucial for a strong, long-lasting sheathing job. Choosing the wrong fasteners can lead to weak points in your wall, while the wrong tools can make the job much harder and potentially dangerous. Let’s look at the options and best practices.
Fastener Types
Sheathing installation primarily uses nails and screws, each with its own set of advantages and disadvantages. Nails are generally faster to install, especially with a nail gun, but screws offer superior holding power and resistance to pull-out, particularly in challenging conditions like windy areas or with certain sheathing materials. The choice often depends on building codes, the type of sheathing, and personal preference.
Nails vs. Screws
Nails are the traditional choice for sheathing, offering speed and ease of installation, especially when using a pneumatic nail gun. However, nails can be prone to loosening over time, especially in areas subject to movement or vibration. They also offer less resistance to pull-out forces compared to screws. Screws, on the other hand, provide superior holding power and resistance to withdrawal, making them a better choice for high-wind areas or when using denser sheathing materials. They are also less likely to cause splitting in the sheathing. The trade-off is that screws are slower to install and require a more powerful driver.
Tool Selection and Maintenance
Proper tools are essential for efficient and safe sheathing installation. A circular saw is needed for accurate cutting of sheathing panels to size. A hammer is useful for hand-nailing, although a pneumatic nail gun significantly speeds up the process. Safety glasses and hearing protection are mandatory when using power tools. Regular maintenance is key – keep your saw blade sharp, your nail gun oiled and free of debris, and your hammer head secure. A measuring tape, level, and speed square are also crucial for accurate measurements and alignment. Always disconnect power tools before maintenance.
Fastener Selection Table
| Sheathing Material | Wall Construction | Fastener Type | Fastener Size (inches) |
|---|---|---|---|
| Oriented Strand Board (OSB) | Wood Frame | 8d common nails or 2″ exterior screws | 0.125-0.131 |
| Plywood | Wood Frame | 8d common nails or 2″ exterior screws | 0.125-0.131 |
| OSB | Steel Frame | 2 ½” exterior screws | 0.148-0.160 |
| Plywood | Steel Frame | 2 ½” exterior screws | 0.148-0.160 |
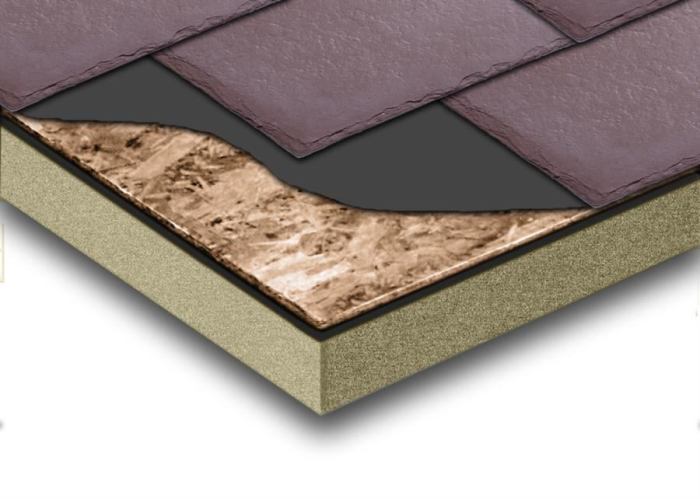
Moisture Management and Weather Protection
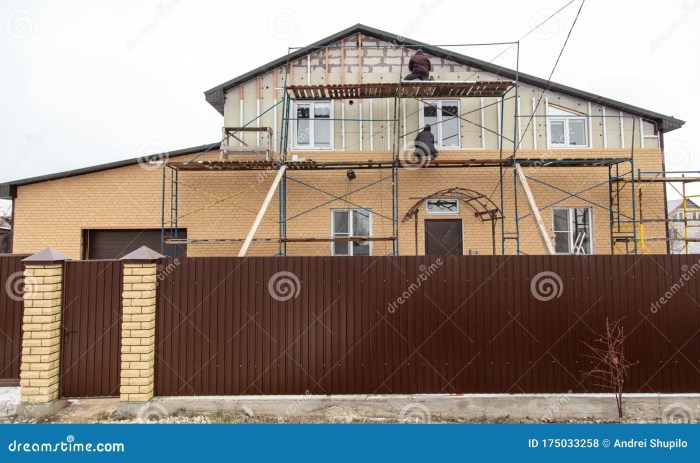
Source: dreamstime.com
Protecting your home’s exterior walls from moisture is crucial for preventing rot, mold, and structural damage. This involves a combination of using appropriate sheathing and installing a reliable weather barrier. Ignoring this step can lead to costly repairs down the line, so let’s get it right.
Proper moisture management relies on creating a system that allows moisture to escape from the wall cavity while preventing outside moisture from entering. This involves selecting moisture-resistant sheathing and installing a continuous weather barrier underneath. Understanding how these elements work together is key to building a durable and long-lasting structure.
Weather Barrier Installation
A weather barrier acts as the first line of defense against rain, snow, and wind-driven water. It’s a crucial component in preventing moisture from penetrating the wall assembly. Proper installation is key to its effectiveness. This usually involves overlapping the barrier material to create a waterproof seal.
- Begin by unrolling the weather barrier, ensuring it’s taut but not stretched. Overlap each sheet by at least 6 inches, and seal the overlaps with waterproof tape designed for this purpose. Pay close attention to corners and edges, ensuring complete coverage.
- Secure the weather barrier to the studs using staples or construction adhesive. Don’t over-staple, as this could puncture the barrier. Aim for approximately 6 inches apart.
- At window and door openings, carefully cut the barrier to fit snugly and seal around the openings with waterproof tape. Ensure there are no gaps or openings that could allow water penetration.
- For complex areas like valleys or corners, consider using additional flashing to create a watertight seal. This will prevent water from pooling and potentially getting behind the barrier.
Moisture-Resistant Sheathing Installation
Moisture-resistant sheathing, like OSB (Oriented Strand Board) or plywood treated with a water-resistant adhesive, helps further protect the wall from moisture intrusion. Proper installation ensures that this protection is effective.
- Begin by installing the sheathing horizontally, starting at the bottom of the wall. This helps prevent water from running behind the sheathing.
- Maintain consistent spacing between sheets, usually around 1/8 inch, to allow for expansion and contraction due to temperature changes.
- Use appropriate fasteners, such as galvanized nails or screws, ensuring they are driven straight and flush to avoid damage to the sheathing. Fasteners should be spaced according to the manufacturer’s recommendations.
- Overlap the sheathing sheets similarly to the weather barrier, ensuring a continuous and sealed surface. Stagger the end joints of adjacent sheets to create a stronger, more resilient wall.
- Seal any gaps or cracks in the sheathing with exterior-grade caulk to prevent moisture penetration. Pay particular attention to seams and around penetrations.
Managing Moisture Buildup
Even with proper installation of weather barriers and sheathing, moisture can still accumulate within the wall assembly. Proper ventilation is crucial to manage this. This can be achieved through the use of vented soffits and ridge vents in the roof system, which allow air to circulate and carry away moisture. In addition, ensuring proper air sealing around windows and doors helps to prevent moisture from entering the wall cavity. Properly installed flashing around windows and doors is also important to prevent water from entering. This is another layer of defense in the moisture management system.
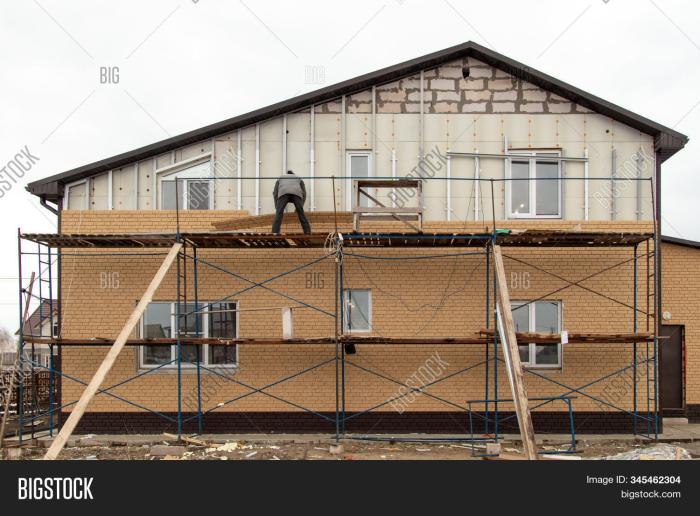
Building Codes and Regulations
Source: bigstockphoto.com
Proper sheathing installation isn’t just about aesthetics; it’s crucial for the structural integrity and safety of your building. Ignoring building codes can lead to serious consequences, from costly repairs to compromised safety. Understanding and adhering to these regulations is paramount for a successful and safe project.
Building codes, which vary by location (city, county, state, and even country), dictate the minimum acceptable standards for construction. These codes are designed to protect public health, safety, and welfare. They specify requirements for materials, installation methods, and overall structural performance, all aimed at preventing failures and ensuring the building can withstand various environmental loads and stresses. Non-compliance can result in fines, project delays, and even legal action.
Relevant Building Codes and Their Importance
Building codes related to exterior wall sheathing address several key aspects. They often specify the type of sheathing allowed (e.g., OSB, plywood, or engineered wood panels), its minimum thickness, and the required fastening patterns. These regulations ensure that sheathing provides adequate structural support to resist wind loads, seismic forces, and other external pressures. Failure to meet these requirements can result in weakened walls, increased vulnerability to damage during storms, and potential structural failure. For example, using undersized sheathing or improper fastening could lead to wall collapse in high-wind areas.
Examples of Common Code Violations and Their Consequences
Using sheathing that doesn’t meet the required grade or thickness is a frequent violation. This can compromise the wall’s structural capacity, leaving it susceptible to racking and damage. Another common violation is improper fastener spacing or the use of inappropriate fasteners. This weakens the connection between the sheathing and framing, making the wall less resistant to wind uplift and other loads. Failure to properly seal sheathing joints can lead to moisture intrusion, causing rot, mold, and structural degradation. The consequences of such violations can range from requiring costly remediation to complete wall replacement, to significantly increasing project costs and timelines. In extreme cases, structural failure could endanger occupants.
Key Building Code Requirements for Exterior Wall Sheathing
Before beginning any sheathing installation, thoroughly review the relevant building codes for your specific location. Key requirements often include:
- Specified Sheathing Type and Grade: Codes typically list acceptable sheathing materials (OSB, plywood, etc.) and their minimum grades (e.g., OSB structural I).
- Minimum Sheathing Thickness: The required thickness depends on factors such as wind load, snow load, and seismic zone. The thicker sheathing is generally needed in areas with higher wind loads.
- Fastener Type and Spacing: Codes specify the type of nails or screws, their minimum length, and the maximum spacing between fasteners to ensure adequate connection to the framing.
- Edge and End Fastening Requirements: Specific fastening requirements often exist for the edges and ends of sheathing panels to prevent uplift and improve overall structural performance.
- Joint Alignment and Overlap: Codes often specify requirements for the alignment and overlap of sheathing panels to create a strong and continuous surface.
- Moisture Protection: Codes often address the need for proper moisture protection to prevent water damage to the sheathing and underlying structure.
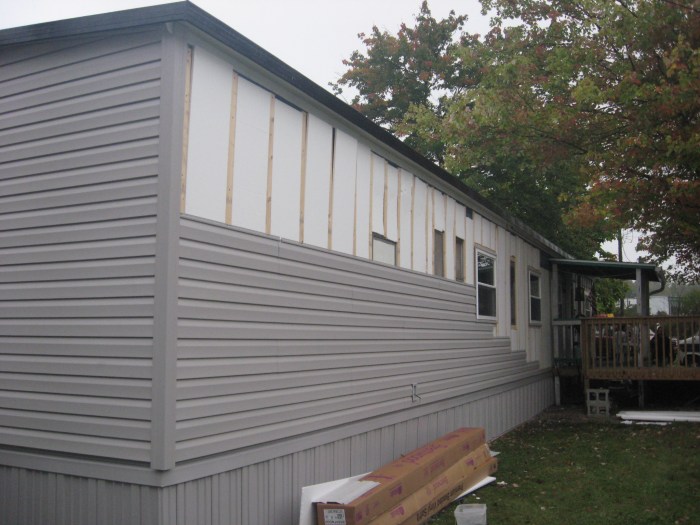
Wrap-Up

Source: dreamstime.com
Successfully installing exterior wall sheathing is key to a durable and energy-efficient home. By carefully selecting the right materials, following proper installation techniques, and paying attention to detail, you can create a strong and weather-resistant barrier. Remember, proper planning and attention to moisture management are vital to prevent future problems. With this knowledge, you’re well-equipped to tackle this essential construction step with confidence, resulting in a home that’s built to last.